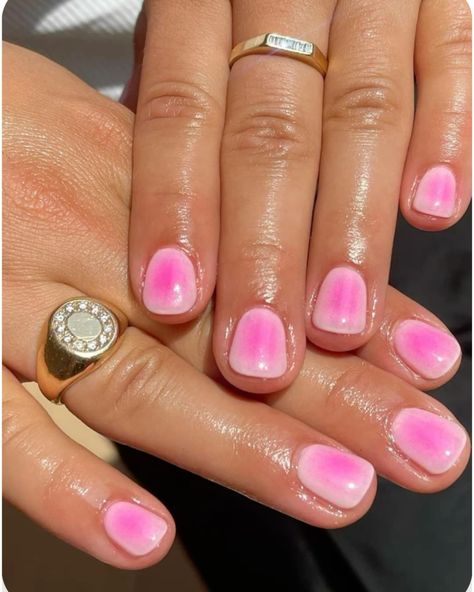
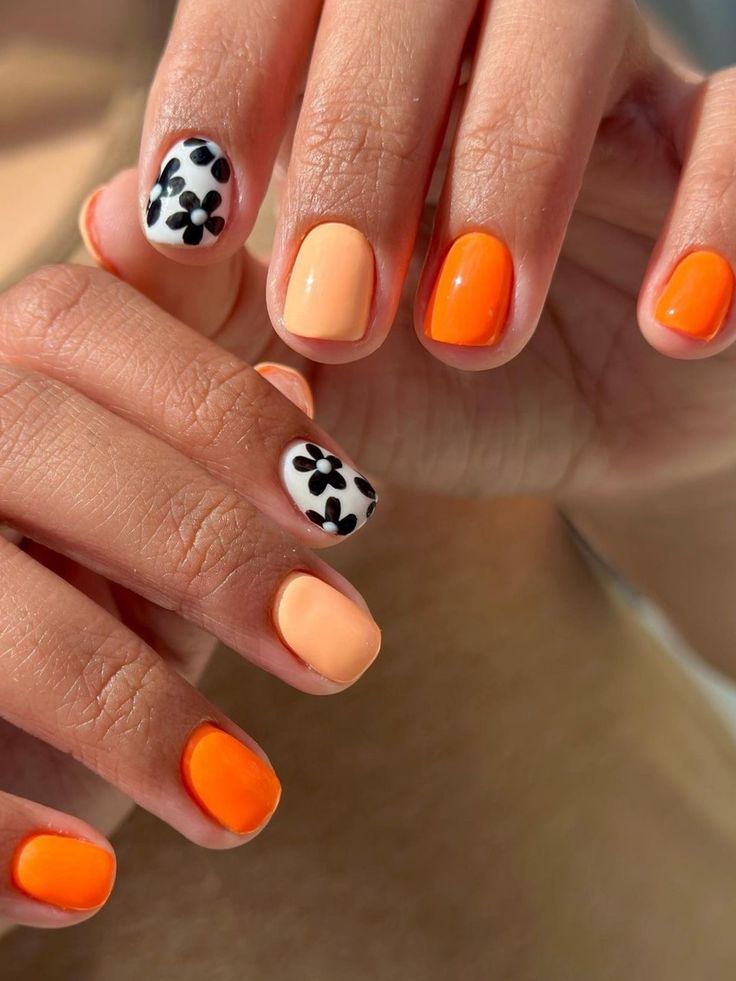
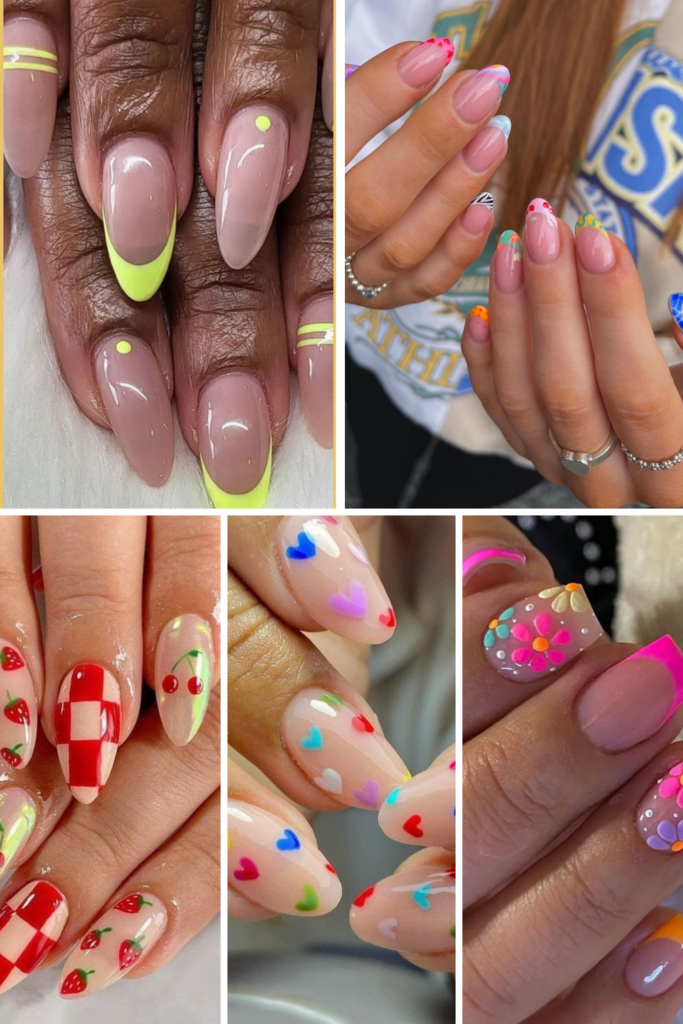
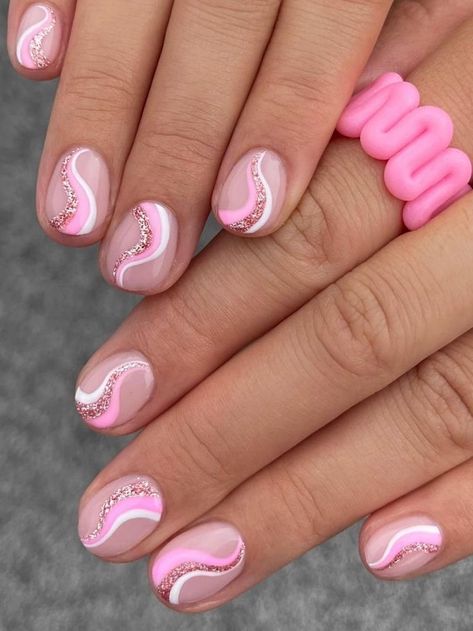
Gel manicures are all the rage these days, especially with so many creative nail art trends flooding TikTok – make sure you’re keeping up without sacrificing the health of your natural nails! Whether you’re rocking a chip-free color with a glossy finish or experimenting with nail art at home, removing gel polish safely is essential to avoid potential damage. Check out my Spring Nail Ideas here for 2025.
In this comprehensive guide, we’ll walk you through the best removal process using both traditional and alternative methods, discuss the right tools and natural ingredients, and provide a detailed step-by-step guide to ensure you get the best results every time.
Tools and Ingredients for a Perfect Removal Process
Before diving into the removal methods, it’s important to gather the right tools and ingredients. Using the right tools not only makes the removal process easier but also protects your natural nails from potential damage.

Essential Tools for Gel Polish Removal
Make sure you have all of these items on hand:
- Cotton Ball & Cotton Pad: Use these for applying your gel nail polish remover or non-acetone nail polish remover evenly.
- Cuticle Pusher & Orangewood (Orange) Stick: These wooden tools help gently push back cuticles and lift off loosened polish.
- Small Piece of Aluminum Foil: Perfect for creating wraps to keep the remover in contact with your nails.
- Nail Clipper & Coarse Nail File: Trim and shape your nails before beginning the removal process.
- Nail Buffer & Nail Drill: For those who prefer professional tools, a nail buffer and nail drill can help smooth the surface of your nails once the polish is removed.
- Small Bowl: Essential for mixing natural ingredients or soaking your nails.
- Wooden Tool: In addition to the cuticle pusher, a wooden tool can help with delicate adjustments when dealing with stubborn spots.
Ingredients for Safe and Effective Removal For Gel Nails
Using quality ingredients can make a huge difference. Consider these options:
- Gel Nail Polish Remover (Acetone-Based or Non-Acetone): Choose based on your nail type. Acetone-based removers are effective but can sometimes lead to dry or brittle nails if overused.
- Warm Water: A key component for softening the gel polish.
- Cuticle Oil & Hand Cream: Essential for rehydrating and nourishing your nails after removal.
- Dish Soap & Mild Soap: Great for cleaning your nails and preparing them for further care.
- Natural Ingredients: Lemon juice, olive oil, and white vinegar are excellent alternatives for those with sensitive skin or who prefer natural ingredients.
- Sugar Mixture: Whether it’s sugar granules mixed to form a sugar paste or a pre-made sugar method solution, this can gently help remove gel polish while minimizing harsh chemical exposure.
- Equal Parts Ingredients: When mixing your natural removal solutions, aim for equal parts of your chosen ingredients for a balanced, effective formula.
Methods for Removing Your Gel Manicure
There are several methods to remove gel polish, each with its advantages. Let’s break down the most popular ones so you can choose the best option for your nail care routine.
The Traditional Acetone-Based Removal Method For Gel Nails
This is the most commonly used method and is known for being effective—even on hard gel nails and stubborn polish.
- Preparation:
Start by filling the top coat lightly using a coarse nail file. This helps break the seal of the gel polish, allowing the acetone to penetrate more easily without affecting the entire surface of your nails. - Application:
Soak a cotton pad or ball in an acetone-based gel nail polish remover. Be sure to use a product that is designed for gel polish removal to avoid potential damage from harsh chemicals. - Wrap and Wait:
Place the soaked cotton pad on your nail and secure it with a small piece of aluminum foil. Leave these wraps on for about 15-20 minutes. This duration gives the acetone time to break down the polish without subjecting your nail bed to extended chemical exposure. - Removal:
Once the time is up, remove the foil and use a cuticle pusher or orangewood stick to gently scrape off the softened polish. For those with access to a nail drill, you might consider using it with caution for extra precision. - Aftercare:
Rinse your hands thoroughly with warm water and apply cuticle oil and hand cream to rehydrate your nails. Remember, regular nail polish removal should be treated differently from gel polish removal, so make sure to adjust your techniques accordingly.
This method is tried and true, but if you’re concerned about harsh chemicals or have naturally brittle nails, consider one of the alternative methods below.
The Sugar Method: A Natural Alternative Gel Nail
For those looking for a gentler approach that uses natural ingredients, the sugar method is a fantastic option.
- Mixing the Sugar Mixture:
In a small bowl, combine sugar granules with a little bit of warm water. Add a few drops of lemon juice or olive oil. The goal is to create a smooth sugar paste that can work to dissolve the gel. Polish without damaging the nail plate. - Application:
Apply the sugar mixture directly to your nails and gently massage it with your fingertips or a wooden tool. This method works best when the polish is not excessively thick. - Waiting Period:
Allow the mixture to sit on your nails for a little longer than the traditional method. Depending on your nail type and the thickness of the polish. This may take a long time—so be patient and let the sugar mixture work its magic. - Removal:
Once the gel polish has softened, use a cotton pad or a cuticle pusher to gently lift it away. Any remaining sugar residue and gel polish. You may need to repeat the process for stubborn spots. Ensuring you use simple steps and easy steps to avoid any potential damage. - Clean Up and Moisturize:
Rinse thoroughly with warm water and pat your nails dry. Apply nourishing hand cream. Cuticle oil to restore moisture and maintain a smooth texture on the surface of your nails.
The sugar method is a great way to avoid acetone-based products.Is particularly beneficial for those with sensitive skin or who prefer alternative methods using natural ingredients.
Alternative Natural Methods For Gel Nails
If neither the acetone-based removal nor the sugar method appeals to you. There are other natural ways to remove your gel polish with ingredients you might already have at home.
- Lemon Juice and Olive Oil:
Mix equal parts lemon juice and olive oil in a small bowl. Lemon juice acts as a natural acid to help break down the polish, while olive oil provides moisture and protection for dry nails. Soak your nails in the mixture or use a cotton pad to apply it. - White Vinegar Solution:
Combine white vinegar with warm water and a few drops of dish soap. This mixture creates a gentle soak that helps loosen the polish while maintaining the integrity of your nail bed and natural nails. - Non-Acetone Nail Polish Remover:
For those who are cautious about the harsh chemicals found in acetone-based removers, non-acetone nail polish removers are available. These products are designed to be less aggressive, though they might require a bit more effort and time to achieve gel polish removal.
Each of these alternative methods takes a step-by-step process approach to ensure you’re using the right techniques to avoid any potential damage. They may require a long time or additional patience, but the reward is a healthier nail care routine with a reduced risk of brittle nails.
Step-by-Step Guide to Gel Polish Removal
Let’s break down the removal process into a clear, detailed step-by-step guide. This section is designed to help even the most novice DIY nail technician achieve a successful gel polish removal at home.
Preparation: Setting Up Your Workspace
- Create a Clean, Well-Ventilated Area:
Always work in a well-ventilated area to minimize exposure to any fumes from acetone or other chemicals. This not only protects your lungs but also ensures that the chemicals evaporate safely. - Gather Your Tools:
Lay out all the necessary items: a cotton ball, cotton pad, cuticle pusher, orange stick, small piece of aluminum foil, nail clipper, coarse nail file, and nail buffer. If you’re feeling extra fancy, keep your nail drill handy for precision work on hard gel nails. - Prepare Your Soak:
Fill a small bowl with warm water and add a squirt of dish soap or mild soap. This mixture will be used to soak your nails either as a preparatory step or for rinsing off residual chemicals.
Detailed Step-by-Step Process
- File the Top Coat:
Begin by gently filing the top coat of your gel manicure using a coarse nail file. This helps the remover penetrate the polish more effectively by breaking the seal on the entire surface of your nails. - Soak and Wrap:
Soak a cotton pad or cotton ball in your chosen gel nail polish remover (whether acetone-based or non-acetone). Place the soaked pad on your nail and secure it with a small piece of aluminum foil. This wrap traps heat and accelerates the removal process. Let your nails sit for 15-20 minutes. - Check for Softened Polish:
After the allotted time, remove the aluminum foil and check if the gel polish has softened. It should be easy to remove with gentle pressure using a cuticle pusher or an orangewood stick (another term for an orange stick). For those with particularly stubborn polish or hard gel nails, a nail drill can be used—but always exercise caution to avoid damaging the nail bed.
Continue The Process
- Gently Remove the Polish:
Slowly and carefully push off the loosened gel polish. If any stubborn spots remain, reapply your remover and wrap your nails again for a few more minutes. Remember, the goal is to remove the polish without causing harm to your natural nails. - Clean Up Residue:
If you’re using the sugar method or any natural ingredient mixture, make sure to thoroughly remove any remaining sugar residue or solution from the nail plate with a cotton pad soaked in warm water. This step ensures that no film is left behind that could interfere with your next manicure. - Final Rinse and Moisturize:
Rinse your hands in warm water to wash away any leftover chemicals or natural residues. Pat dry and then apply a generous amount of cuticle oil and hand cream. This helps restore moisture, ensuring your nails stay healthy, smooth, and ready for your next manicure application—whether it’s a regular nail polish or a brand-new gel manicure.
Aftercare: Restoring and Nourishing Your Nails
Proper aftercare is as important as the removal process itself. It helps prevent common mistakes that can lead to brittle nails and ensures that your nails are in top condition for your next manicure.
Moisturizing and Repairing Your Nails From Gel
- Rehydrate with Cuticle Oil and Hand Cream:
After removing your gel polish, the nail bed and nail plate can feel dry. Use a nourishing cuticle oil and hand cream to replenish moisture. Applying these products regularly not only improves the smooth texture of your nails but also promotes healthy nails overall. - Base Coat and Top Coat:
For your next manicure, consider using a base coat to protect your nails and a top coat for a glossy finish that locks in moisture and color. Whether you’re switching to regular nail polish or reapplying a new gel manicure, these layers are essential in preventing potential damage and ensuring a chip-free color.
Preventing Common Mistakes and Potential Damage From Gel
- Avoid Overexposure to Harsh Chemicals:
Frequent use of acetone-based removers can lead to brittle nails and dry nails. If you have sensitive skin or naturally delicate nails, alternate between acetone-based and non-acetone products or try natural alternatives like the sugar method. - Don’t Rush the Process:
One of the most common mistakes is not giving the remover enough time to work. Even if it feels like a long time, be patient. Rushing can lead to damage on the entire surface of your nails, causing issues such as stubborn spots and potential harm to the nail bed. - Using the Right Tools:
Whether you’re a DIY enthusiast or prefer visiting a nail salon, always use the right tools. A coarse nail file, cuticle pusher, and even a nail buffer are essential for a smooth removal process. Improper use of these tools might cause uneven removal and impact the care of your nails. - Proper Technique is Key:
Always follow a step-by-step guide to ensure you’re using the right techniques. Simple mistakes, like excessive scraping with an orangewood stick or overusing acetone, can lead to a rough nail plate or even potential damage.
Gel Nail Removal
Removing a gel manicure doesn’t have to be a daunting task. Whether you choose the tried-and-true acetone-based method. The natural sugar method, or one of the many alternative methods using ingredients like lemon juice.
Olive oil, or white vinegar, following a detailed step-by-step guide can save you time and prevent potential damage to your nails.
Remember that using the right tools—from a cotton ball and cotton pad to a cuticle pusher and orangewood stick.—Ensures that even the most delicate nail bed and nail plate remain in perfect condition.
Taking Care Of Your Gel Nails
Taking care of your nails is not just about aesthetics; it’s an important part of overall nail care. By adhering to simple, effective techniques and avoiding common mistakes such as overexposure to harsh chemicals. You’re setting yourself up for a beautiful manicure every time. Whether you’re fresh off a nail salon visit or planning your next DIY nail art session at home. These easy steps and natural ingredients will help you achieve a smooth texture and glossy finish that lasts. Here are some of my favorite gel nail ideas.
If you found this guide helpful, we’d love to hear from you! Share your experiences in the comments below. Subscribe to our newsletter for more expert nail care tips. Don’t forget to follow us on social media for daily inspiration and creative ideas. Whether you’re a nail enthusiast inspired by TikTok. – Make trends or a beginner just starting. There’s always a great way to improve your routine and keep your nails healthy and vibrant.
Ready For Your Next Manicure
Ready for your next manicure?
Take action now: try out one of these methods, and let us know which one gave you the best results. For more detailed guides, insider tips, and regular updates on nail art and care. Subscribe to our blog and join our growing community of nail care enthusiasts!
Happy nail care, and here’s to your most beautiful nails ever!